Why I Should Update my Website with a New Theme
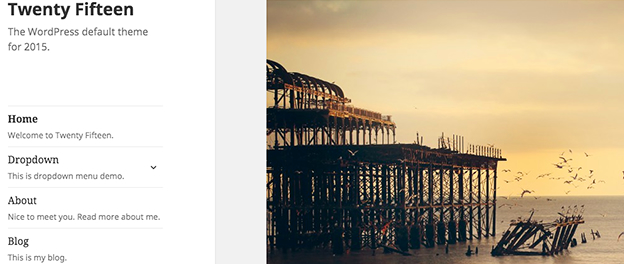
It is said you should update your web site front page often. At the very least you should not let your front page go stale for more than a month.
Reasons Why You Should Update Your Site With A New Theme.
And it is recommended you update your site at least once a week. But if you are the only one wearing the many hats in your business this might not be at the top of your list.
But fear not one of the best ways to do this is to update to a more responsive easy to change on the fly theme with several easy to update content options. So lets talk about a theme change.
A typical theme can be installed in a few minutes and updated on a small site in a weekend.
Most of the updates you will need to make will simple be cosmetic. It is best to pick a highly rated theme that has a lot of testing and real world use behind it.
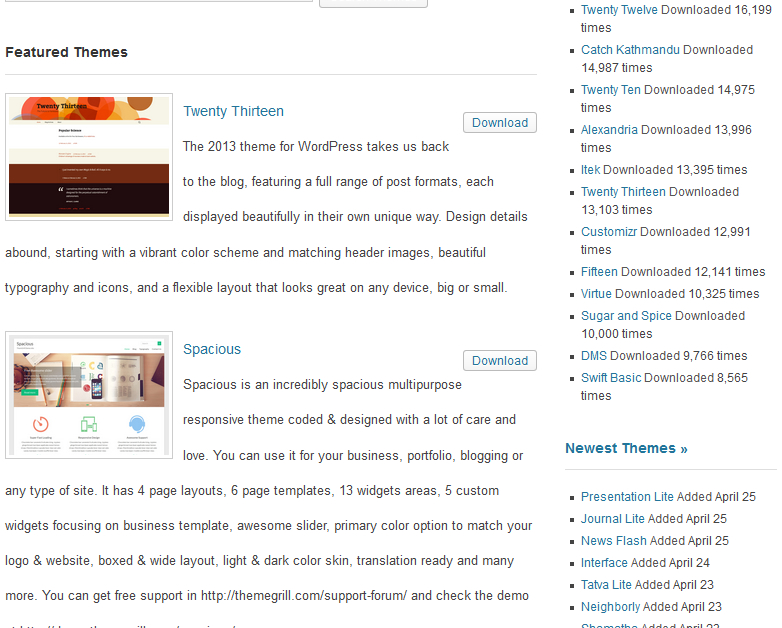
Look through all of the themes, use the preview button to see the theme in action, and pick one that suits the look and feel you like. Look at the ratings and support forum to make sure that the theme is well liked and supported.
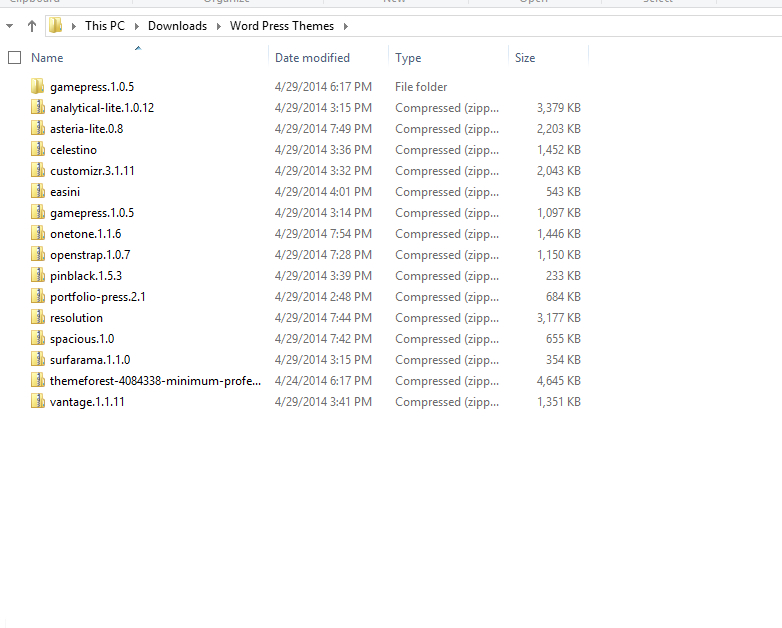
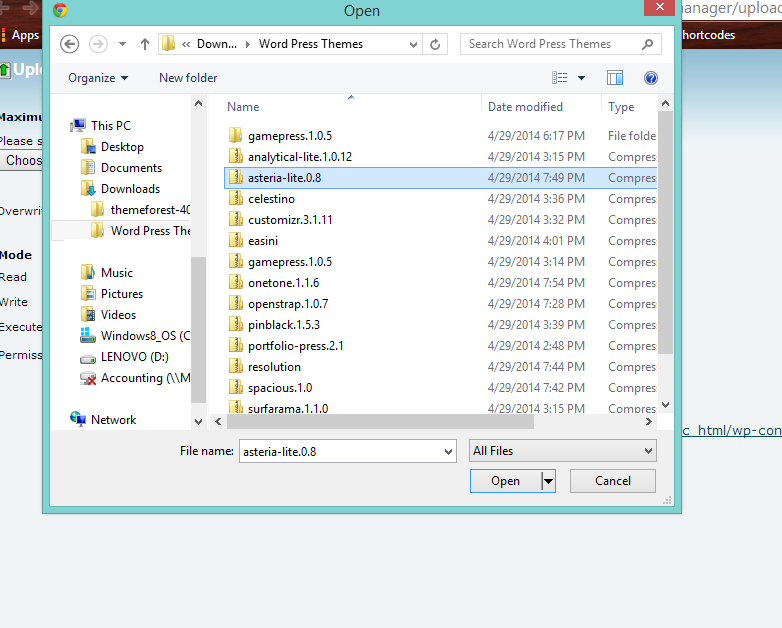
Then the next step is to download the theme to your downloads file on your computer. This will be a zip file. You should have it in your downloads file as below (I made a folder in my downloads folder named WordPress themes).
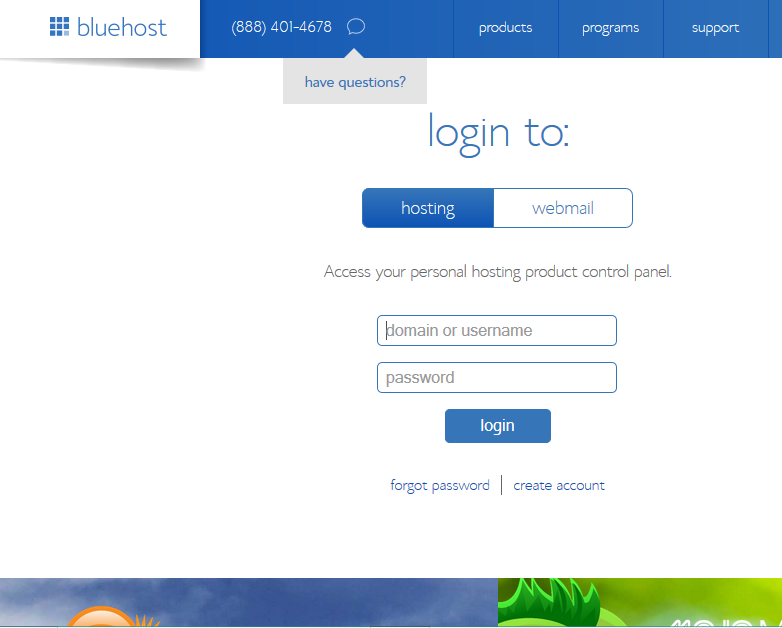
Next we will upload the file into your WordPress installation directory. So open your Blue Host web hosting account.
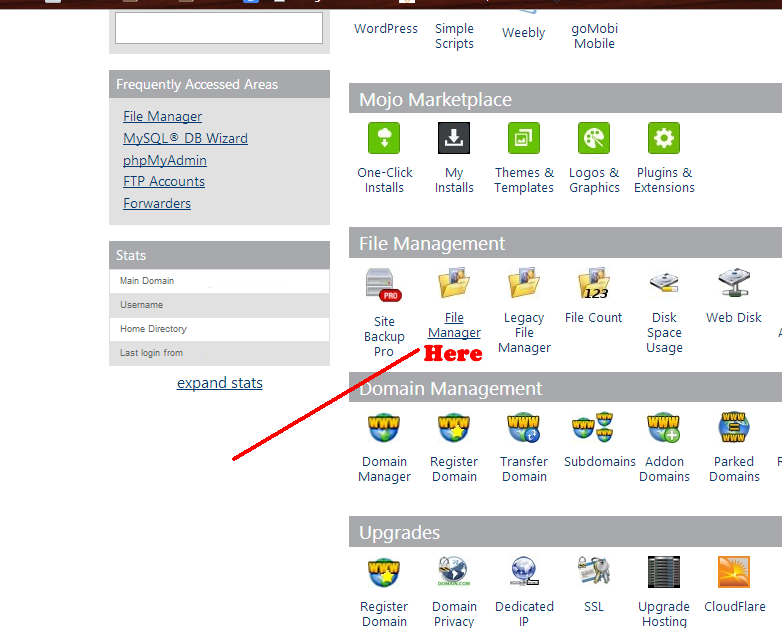
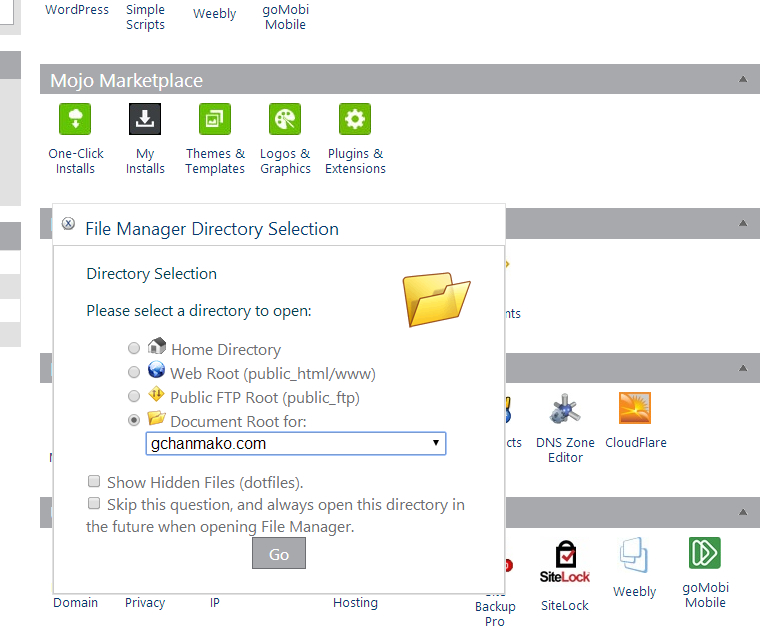
Once you have logged into your web hosting account then click on the control panel then scroll down and click on the file manager button, highlighted with the red here text.
Pick the WordPress installation directory you want to work on, in this case we are working on gchanmako.com but yours will be the domain that you are working on.
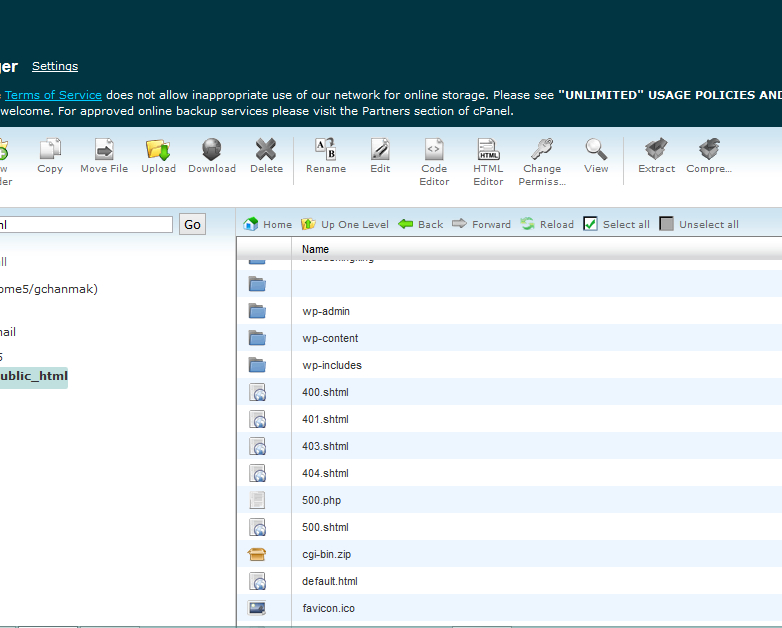
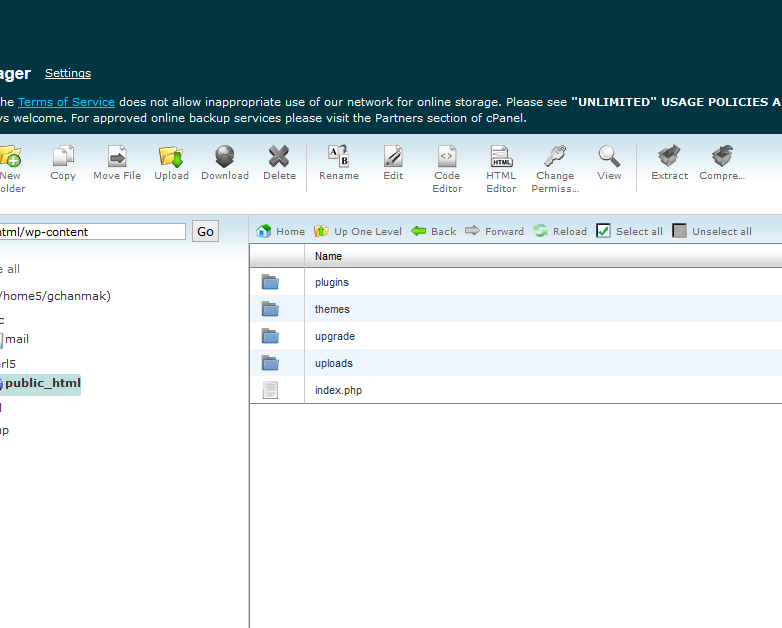
So in the blue folders in the middle you need to click into the folder where your themes are, so click on wp-content and then themes (this may be different if you have a different file structure but I doubt it). This is the folder where all of your themes are and where we will upload the new themes.
Next click on the folder called themes.
Then you should be in the folder with all of your themes by name with their own folders.
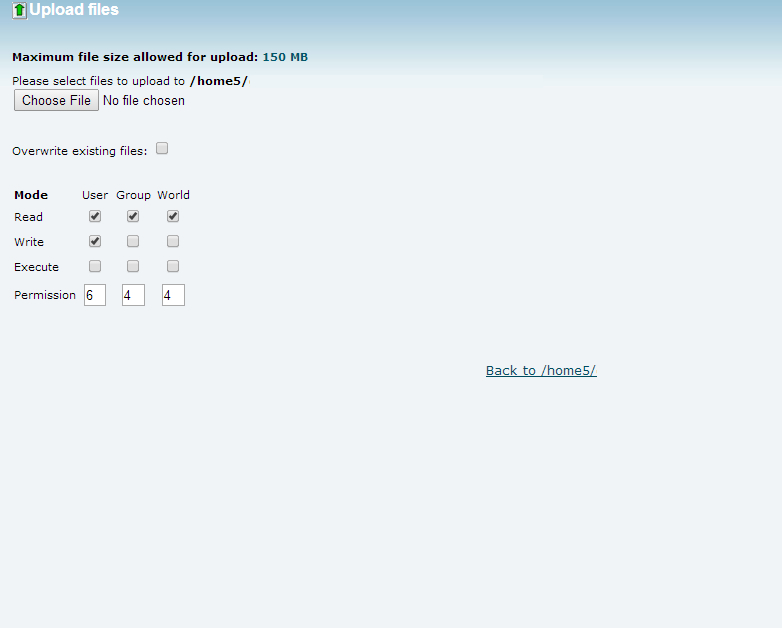
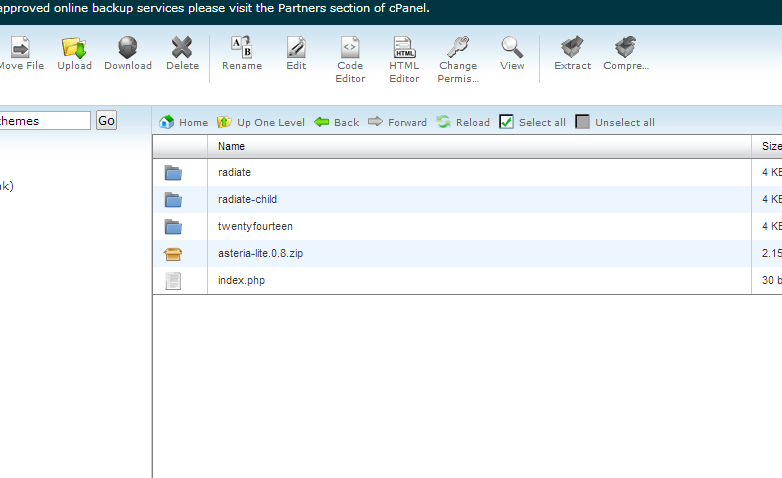
Next click on the upload button in the top large button menu till you get the following screen. It is the fifth one over from the left on the photo above.
Click on the Choose File and navigate to the theme zip file in your download folder. Pick the zip file you want that has your theme in it and click open. In this case we are opening asteria-lite.0.8
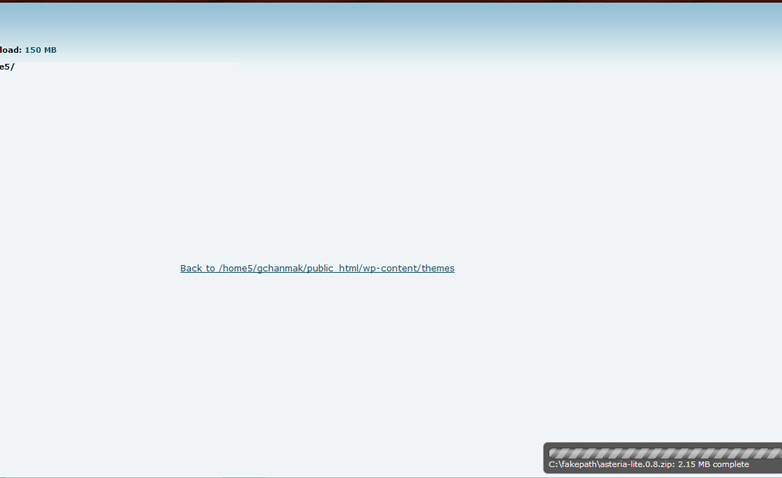
On the bottom right you should see a grey progress bar that says file is uploaded and completed. Next click on the blue link in the middle to go back to the file screen.
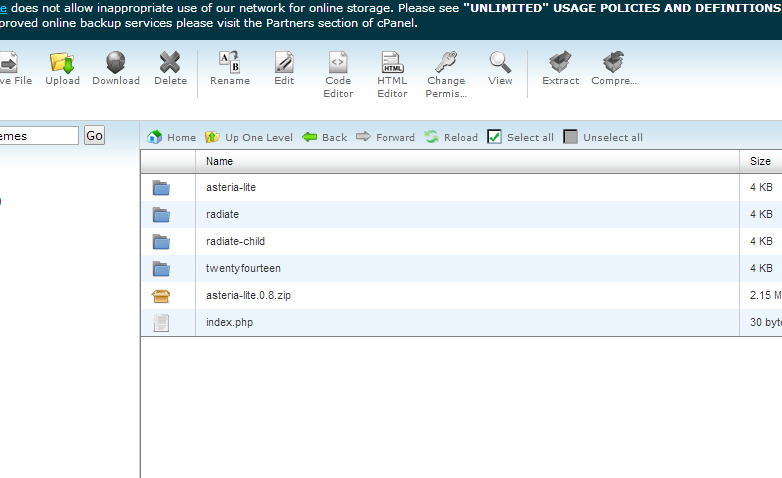
Next hit the reload button on the middle small icon menu and you should see the zip version of the file, asteria-lite.0.8.zip. Select the file then select the extract button on the large icon menu towards the right.
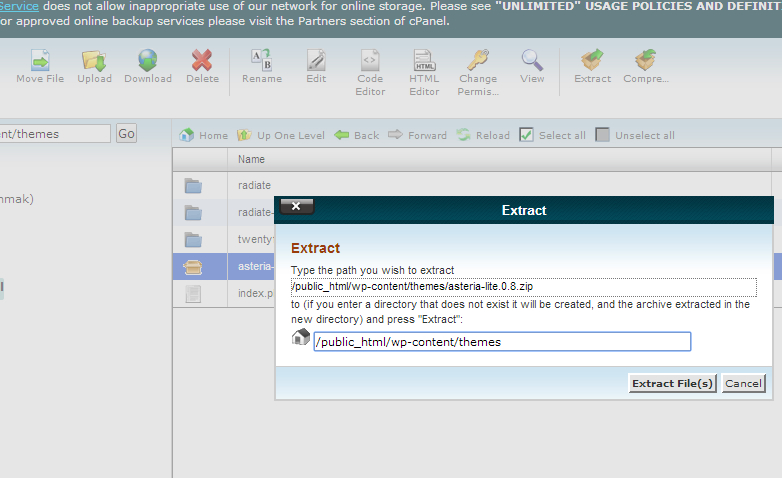
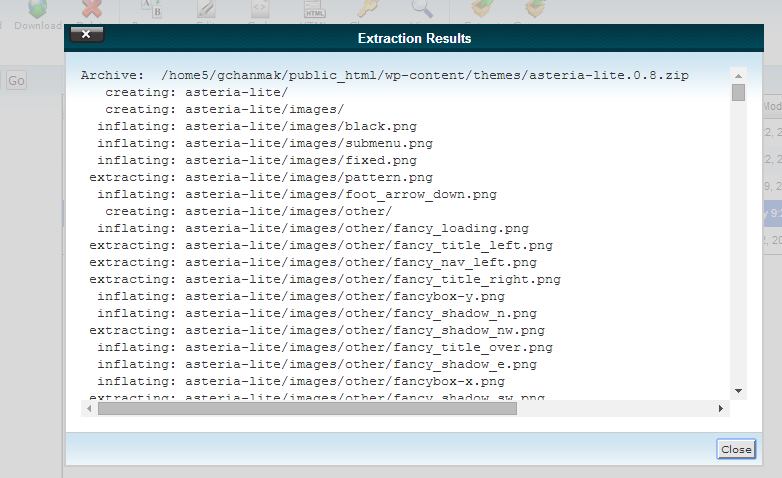
Then verify the file extract folders are correct (they should be as shown) and the press extract.
Once the files are extracted hit the close button to return to the file screen.
Go ahead and hit the reload button again and you should see the new theme installed. You can select the zip file and delete it if you want at this time.
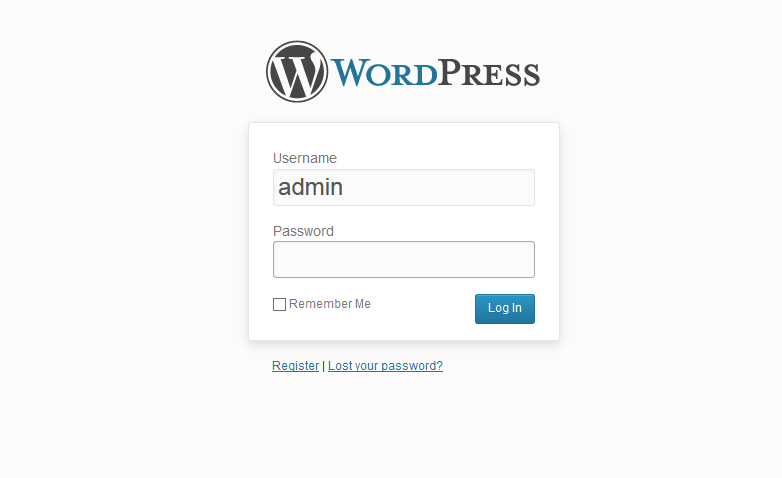
Now you should verify your theme is in your WordPress installation. So log in to your WordPress installation dashboard through the admin log in screen.
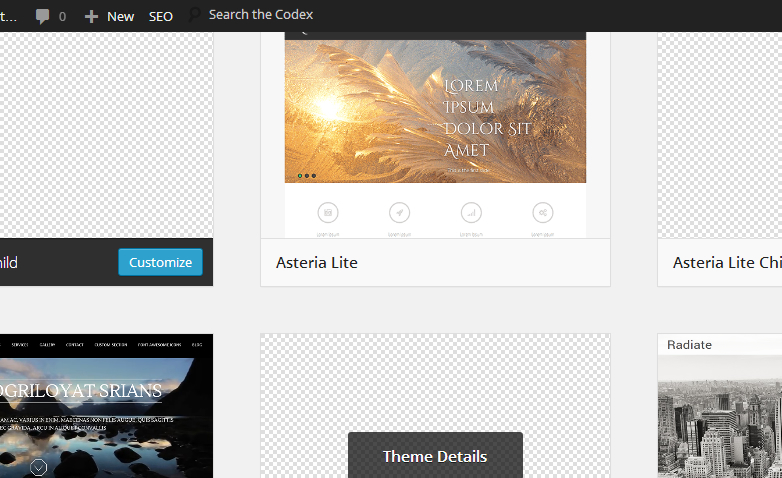
Choose the appearance option on the left side menu (paintbrush icon) and then select themes and you should see the them installed.
And that is it. Your new theme is ready to customize and use. It is best that you setup a child theme first and customize that theme. A child theme is easy to setup but is important to use. The reason is that themes are updated often. A child theme will use all the parent themes options to load with the exception of the changes you made in the child theme. So whenever you update the parent theme you wont lose any of your custom changes.
